Step By Step Guide to DIY Paving
Tackling a DIY paving project is a rewarding endeavor but it requires careful planning, the right tools, and patience. Whether you’re laying pavers for a garden path, patio or driveway, follow this step by step guide to ensure your project is a success!
- Tools & Materials You’ll Need
Quarry rubble
Bedding sand
Pavers or blocks
Gloves
Wheelbarrow
Shovel
Steel screed rails / straps
Pick
Steel screed bar
String lines
String line level
Steel pines
Spirit level
Hammer
Straight edge
Trowel
Broom
Blower (leaf blower)
Compactor plate
Tape measure
Rubber mallet
Brick saw
Finejoint sand
Concrete mix (for edge restraint) - Safety First!
Before you start, remember to prioritise safety:
Eye protection is essential when cutting pavers.
Wear ear protection when using power tools like a compactor or brick saw.
Bend your knees when lifting heavy pavers to avoid back strain.
Work boots protect your feet, while gloves protect your hands.
If working in the sun, don’t forget to slip, slop, slap and stay hydrated. - Step 1: Planning Your Project
Start by measuring the area to be paved. Accurately mark the area with string or paint. Once you’ve got your measurements, draw up a clear plan. If your paving area is a driveway or encroaches on council land, check with your local council to ensure you have the necessary permissions.
Calculating Paver Quantities
To determine how many pavers you’ll need, calculate the area (length x width) in square meters. Then, add 5% to account for cuts and potential breakages. - Step 2: Preparing the Site
Proper site preparation is key to ensuring your pavers stay level and look great for years.
Excavation
Excavate the area to the required depth, considering the thickness of your pavers and any additional layers. Here’s a guide to excavation depth:
For walkways: Depth of paver + 30mm bedding sand + 75mm compacted road base
For driveways: Depth of paver + 30mm bedding sand + 150mm compacted road base
Once you’ve determined the depth, mark the finished surface level with stakes and string lines, then excavate and compact the ground as needed.
Ensure the surface has a slight slope (about 15mm per meter) to allow water to drain away from buildings. - Step 3: Preparing the Sub-Grade
The sub-grade is the natural soil that supports your pavers. It should be firm, level, and free from vegetation. Remove any soft spots and compact the soil to prevent settling. Use string lines to check the level as you go.
Roadbase Layer
Add a roadbase layer to provide stability. For walkways, use 75-80mm of roadbase; for driveways, 100-150mm. Compact the roadbase thoroughly using a mechanical compactor.
Bedding Sand
Once the roadbase is set, spread a 30mm layer of bedding sand (washed concrete sand) over the area. Use a rake to level it out. This will serve as the base layer for your pavers. - Step 4: Screeding the Sand
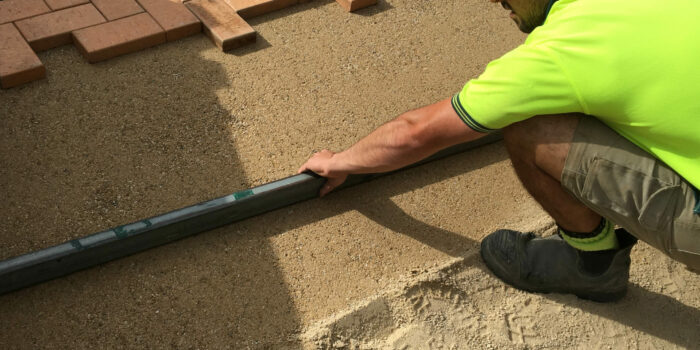
Use screeding straps to level the bedding sand. Set the straps to the required height, then use a screed bar to level the sand between them. Afterward, remove the straps and smooth the sand with a trowel to ensure an even, consistent layer.
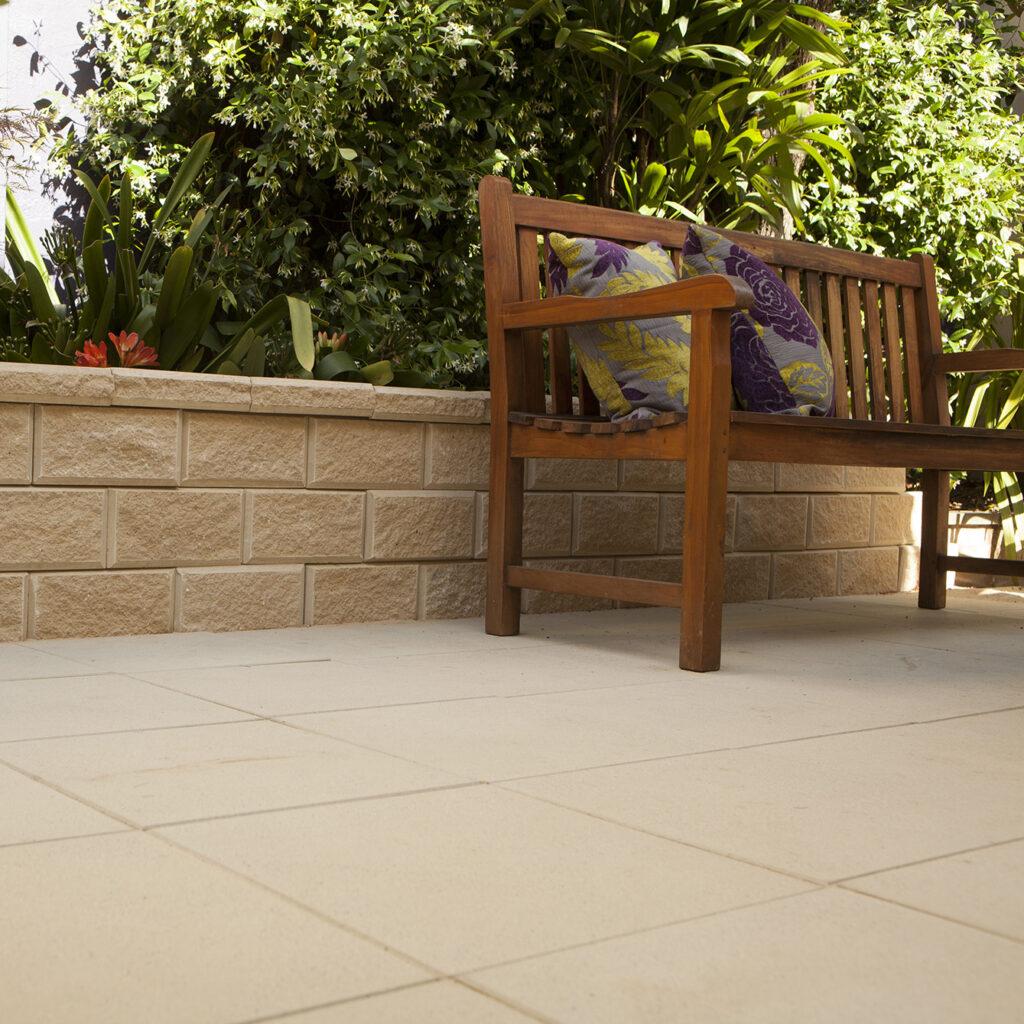
- Step 5: Laying the Pavers
Start laying your pavers from a corner or along a straight edge. Use string lines to keep the joints straight, and ensure each paver is level. You can adjust them with a trowel if needed. Most pavers should have a 2-3mm gap between them.
- Step 6: Cutting the Pavers
Leave the edge pavers for last. Mark the pavers to be cut, and use a diamond blade brick saw to make the cuts. Always wear proper safety equipment when cutting.
- Step 7: Edge Restraint
Install an edge restraint to prevent the pavers from shifting. This could be a concrete edge strip or another form of edge support. The restraint should be placed at least 10mm below the finished surface to allow for compaction.
- Step 8: Filling the Joints
Once the pavers are laid, spread dry jointing sand over the surface and sweep it into the joints. Compact the pavers to lock them into place, then remove any excess sand.
- Step 9: Applying Pave Set (for High-Traffic Areas)
If you’re paving a driveway or high-traffic area, apply Pave Set to lock the pavers in place and prevent shifting. Follow these steps:
1. Ensure the surface is clean and dry.
2. Spread Pave Set evenly over the pavers, sweeping it into the joints.
3. Compact the sand using a vibrating plate compactor or rubber mallet.
4. Mist the area with water to activate the polymer in Pave Set.
5. Allow the Pave Set to cure for at least 48 hours before allowing foot or vehicle traffic. - Step 10: Compaction
Once the pavers are laid and the joints are filled, use a mechanical vibrating plate compactor to bed the pavers into the bedding sand. This will ensure a level, stable surface.

Tips for a Professional Finish
- Use string lines to keep everything straight and level.
- Lay pavers in a consistent pattern and color mix.
- Always start at the corner or edge of the paved area.
- For a seamless look, ensure the grain of the pavers runs in the same direction.
- Be sure to leave space for proper drainage.
Paver Maintenance
To keep your pavers looking great for years, apply a paver sealer. Sealers help protect the surface from stains and weathering. You can also refer to a paver maintenance brochure for tips on cleaning and removing stains.
With the right tools, materials, and careful planning, laying pavers is a DIY project that can improve the appearance and function of your outdoor spaces. And once the job is done, don’t forget to take care of your pavers with proper maintenance and sealing.
If you’re unsure about any part of the process, visit your nearest APC store for advice and free paver samples!
There is no set square metre (m2) rate for paving in Adelaide. After analysing thousands of jobs our research shows that if a paving project was to cost $5,000, the product materials will cost about $1,666 or about 33% of the total job or quote. In addition, the breakdown of the labour for this $5,000 project would cost about the same as the product materials which is another $1,666 or about 33% of the total job. The balance of these costs of about 33% are made up of sand and rubble, dump fees, earthworks and other miscellaneous costs
Visit us at APC to pick up a free sample!
Or, send us a product enquiry or request a quote online